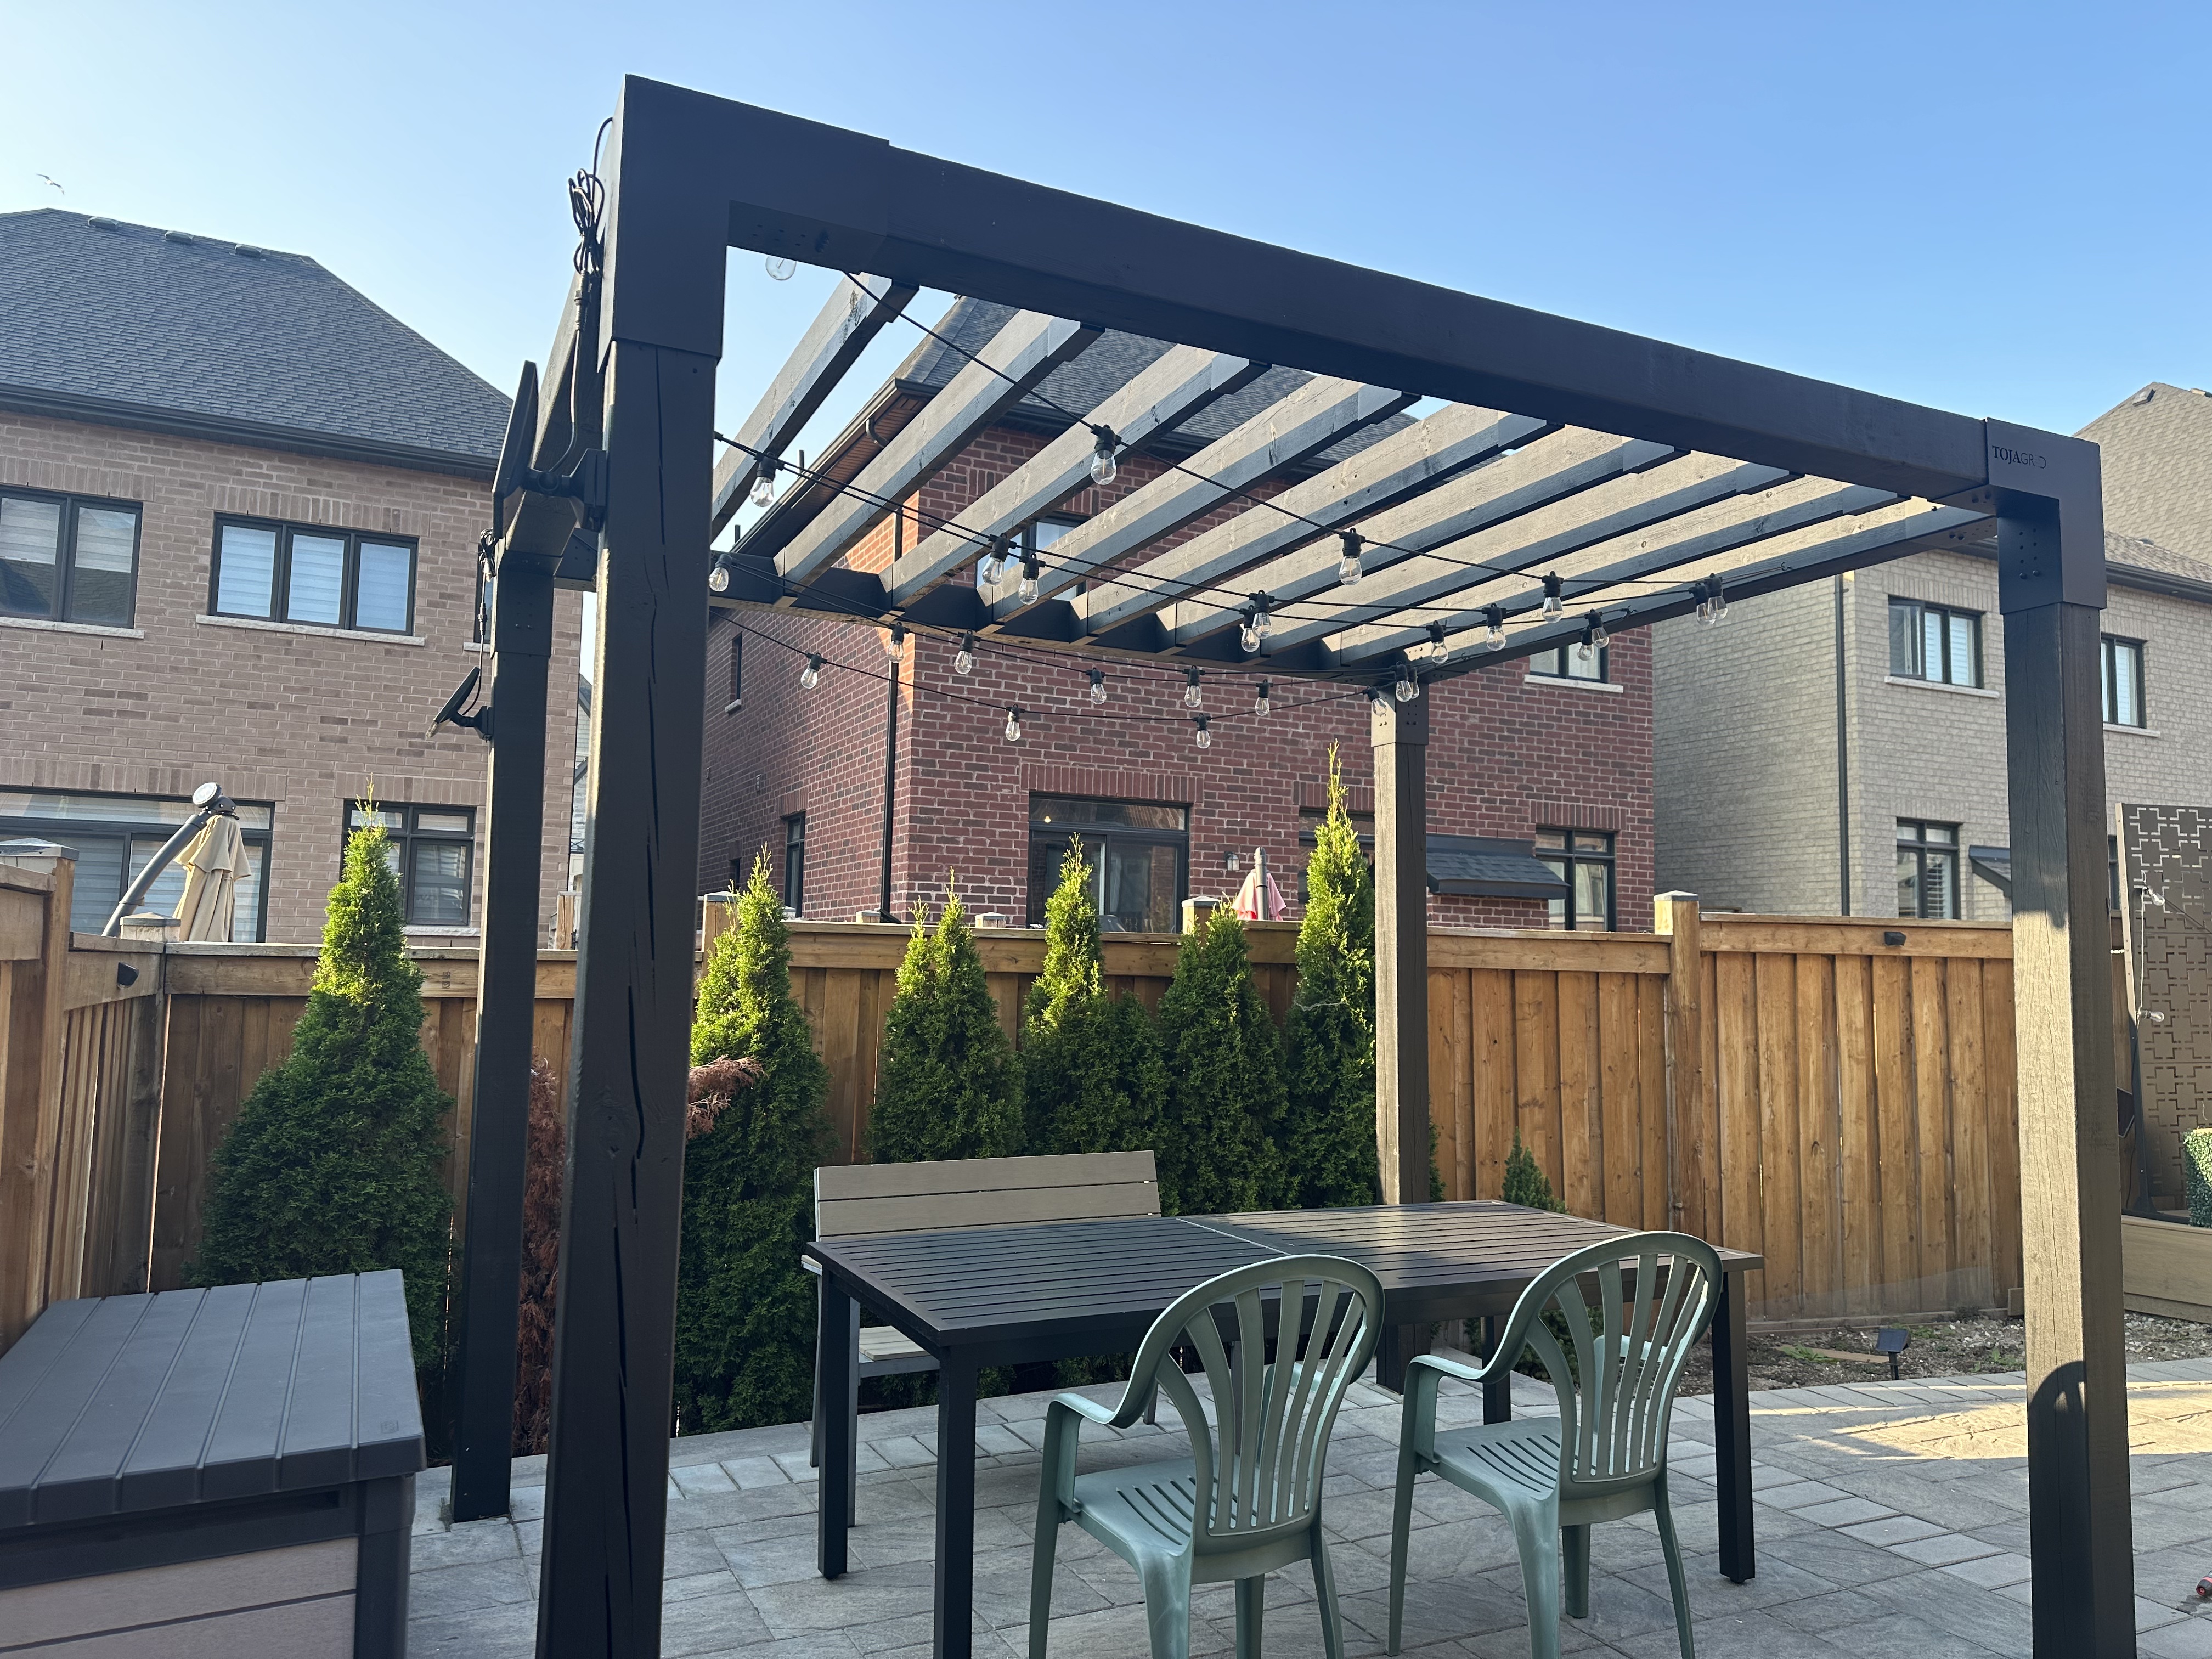

Imagine taking your old, tired pergola and turning it into a sleek, modern Tojagrid masterpiece! It’s a DIY project that will not only breathe new life into your outdoor space but also infuse it with contemporary charm. In this fun tutorial, we’ll walk you through the steps to dismantle your existing pergola and create a stunning Toja Grid structure that will be the envy of your neighbors.
As you recall, we built out our custom pergola years ago. Since then, it’s grown a bit tired and out of place compared to the rest of our home.
To adjust, we thought long and hard about how to modify it while keeping the existing structure in place. We landed on a simple, minimalistic, black Toja Grid solution. Toja Grid lets you purchase modular brackets to design / customize the look that you want. They sell brackets for both 4×4 and 6×6 lumber. In my opinion, we simply love the thicker look, so 6×6 was the right fit for us.
Important Note. Toja Grid recommends building the entire structure on the floor, then propping it up with the legs. This method would actually be easier than what we did. However, since my posts are buried in ground, that was not possible – so much improvisation was needed. Here’s how we handled it.

Materials You’ll Need:
- Pergola with existing in-ground posts
- 6×6 beams (for that modern touch)
- Measuring tape & Laser
- Saw
- Sandpaper
- Paint (choose a color that screams modernity)
- Bracing material (recycle the old wood)
- Screwdriver and screws
- A mallet
- A dash of creativity
Instructions
Step 1: Farewell to the Old. Say goodbye to your old pergola by carefully dismantling it.

Step 2: Use a laser to measure level points on each post. Since the brackets sit flush to the top of the post, the top of each post has to be level. I waited until night where the laser line would be clearest and set a laser on one post. I then proceeded to mark the level line on the remaining posts. During the day, I came back out and cut all of them using a reciprocating saw.
Step 3: Sand and Paint for Modern Flair. Give all of your wood some love with 120 grit sandpaper to smooth out any rough edges. Wipe quickly, then paint a solid black. Choose a hue that complements your outdoor space. The reason I painted before the cut is to leave the ends bare so I can sit the new posts on 2 pieces of 2×4. This let me paint all posts in one go with some dry area to rotate the wood.

Step 4: Measure Twice, Cut Once. Toja grid’s modularity usually allows for easy assembly on the ground, but not for us with those solid posts. So, grab your measuring tape and measure the inner dimensions at the top of each post-to-post, since that is where your stack will sit. We used a laser measurer for faster speeds and accuracy.
Once you have your measurements, cut the 6×6 beams to size. Ours measured 7.5ft by 9.5ft. When cutting, I trimmed off an extra quarter inch from every post to give some flexibility in the event the posts were warped at the top. Couldn’t risk setting up hundreds of pounds on a brace and missing the mark by an inch.
Step 5: Crafting Some Bracing Magic. Using your old wood from the pergola, I remounted some temporary bracing. This would let the Pergola top sit only a few inches in, allowing us enough angle to get all four corners in.
Step 6: Start the assembly! We started with the 7.5 ft run with two brackets in place, then sat it on the top of the bracing.
This allowed us to carry each longer, heavier, 9.5 ft run and attach it to the ends, while sitting on the ledge we created for support. This created a U-shape in the process.
Finally, we mounted the brackets on the last 7.5 ft piece, slotted it into the two arms, and then rest it on the 2 remaining posts.

Step 6: Time for the Drop. With the frame floating on top of the pergola, only a few inches in place, it’s time for the big reveal! Be very careful removing the bracing since the entire top will drop into place upon removing the support. We used some extra wood to prop up the frame as we removed the brace. Wish I had photos of this, but you get the drill. Boom! we’re in.
Step 7: Mallet Magic and Screws Galore. Use a mallet on each corner along with a long level to level the top, ensuring everything lines up perfectly. Remember to put something under the mallot like a scrap piece of wood, or you’ll damage the beautiful brackets. Once you’re satisfied with the fit, secure it in place with screws. Toja only requires 2 screws on each face, so that’s what we did. Modernity has officially landed in your outdoor oasis!

Step 8: Customizing your Pergola. Toja sells a bunch of really cool accessories that fit the modern aesthetics. They have shade systems, roofs, etc. In staying with a simple theme, we opted to only put on the Kinect brackets, which are kind of like rafters. Using our old wood, we just painted them black, cut to size and mounted. I measured out the distance between each piece, and marked it with some tape in advance. Assembly was true to Toja form – easy. 3 screws on each side secure the bracket in place.


Step 9: Voilà – Tojagrid Transformation Complete! Stand back and admire your handiwork. Your once-traditional pergola has been reborn as a modern Toja grid masterpiece. It’s the perfect blend of style and function, ready to host your outdoor gatherings and create memories.
Easy Peasy!
Congratulations, you’ve successfully transformed your traditional pergola into a stunning Toja grid structure. This DIY project has not only given our outdoor space a modern facelift but is also rock solid. We threw our string lights back on and we love the new look.
Hope you enjoyed this DIY, hope to bring you a few more cool projects before the end of the year.


Leave a Reply